I am trying to figure out how to load in a *.tif file into an Observable notebook. Specifically, I am trying to load in the 2020 population data for Nepal from WorldPop. My ultimate aim is to reproduce the their visualization of this dataset, which looks like this:
As a first step (loading in the GeoTIFF file) I have been following @tom’s Cloud Optimized Geotiffs guide, which gets me pretty far: the *.tiff file is ‘loaded’ in the sense that the geotiff.js library Tom uses can pull some basic data from the file.
Unlike Tom’s example, however, the WorldPop *.tiff file is not comprised of several layers, but only one–and it appears to be too big to load. That is, the Observable cell in which I try to load in this image fails with: TypeError: Cannot read property '0' of undefined after about 3 minutes.
I tried loading the file also using geotiff.io, and it did turn up after about 2.5 minutes (on my current connection)… so it should be do-able, but it seems I’d benefit from some method of ‘downsizing’ the tif (or streaming the data?).
Any suggestions?
Here’s the notebook where I follow along with Tom:
Thanks in advance for help and guidance!
To generate pyramids, it may be best to use a dedicated tool like gdal or qgis.
Thanks @andreasplesch - I hadn’t actually thought about the idea of modifying the .tiff itself so that it contains an image pyramid.
I’ll read more about Cloud Optimized GeoTIFFs (COGs). I attempted to use Tom’s notebook as a starting point for loading the TIFF because it was well documented and because it worked best ‘out of the box’ with the WorldPop .tiff compared to the several other Observable notebooks that I tried. Thinking about it, however, I might be on the wrong path, as Tom’s notebook effectively renders out a sort of ‘visual tile index’–using a smaller image map to select specific map tiles. What I am after, by contrast, is a rendering of the full .tiff file with relatively decent fidelity, to which I would be able to add a color scale (reproducing the rendered example image). I’ve actually be struggling with this a bit in QGIS, too, where I have been able to use single-band gradient coloring to highlight densely populated areas, but haven’t been able to get the coloring to work with along a two-color range (as in the rendered example). I was hoping all this might be a bit easier with d3.
I’ll keep exploring. Thanks to your suggestion, I’ve come across a couple other interesting approaches for loading and showing GeoTIFFs, which I’ll check out in a bit:
Converting my regular .tiff into a COG:
Rendering a regular .tiff into OpenLayers:
More from me soon. Of course, I still welcome further guidance on loading in and rendering out large tiff files and also happy for guidance on colorizing tiff.
Thanks again!!
A last post about non observable tools, since this should probably continue elsewhere.
It turns out that their map is somewhat misleading since the ‘High’ densities are extremely high compared to the low ones.
Here is qgis map:
They do not provide the numerical ranges for each class, so you would to have to guess them. In qgis, use ‘Discrete’ to limit the number of colors to the number of classes.
You can manually edit the ranges in qgis properties:
You can edit the values column.
To get back on topic, the only issue with the first attempt was that this is a single band image (grey scale) while Tom’s notebook expected a three channel image, mapped then directly to r,g,b. This is why it complained. Here is a slightly modified version which just uses the single value for all three color channels:
You can then do coloring as in qgis by mapping ranges to colors in the readImageData function. d3 would be convenient for that.
I could generate pyramids in qgis quite quickly (averaging, although summing would be probably more appropriate here), and then load the geotiff into the notebook without much delay.
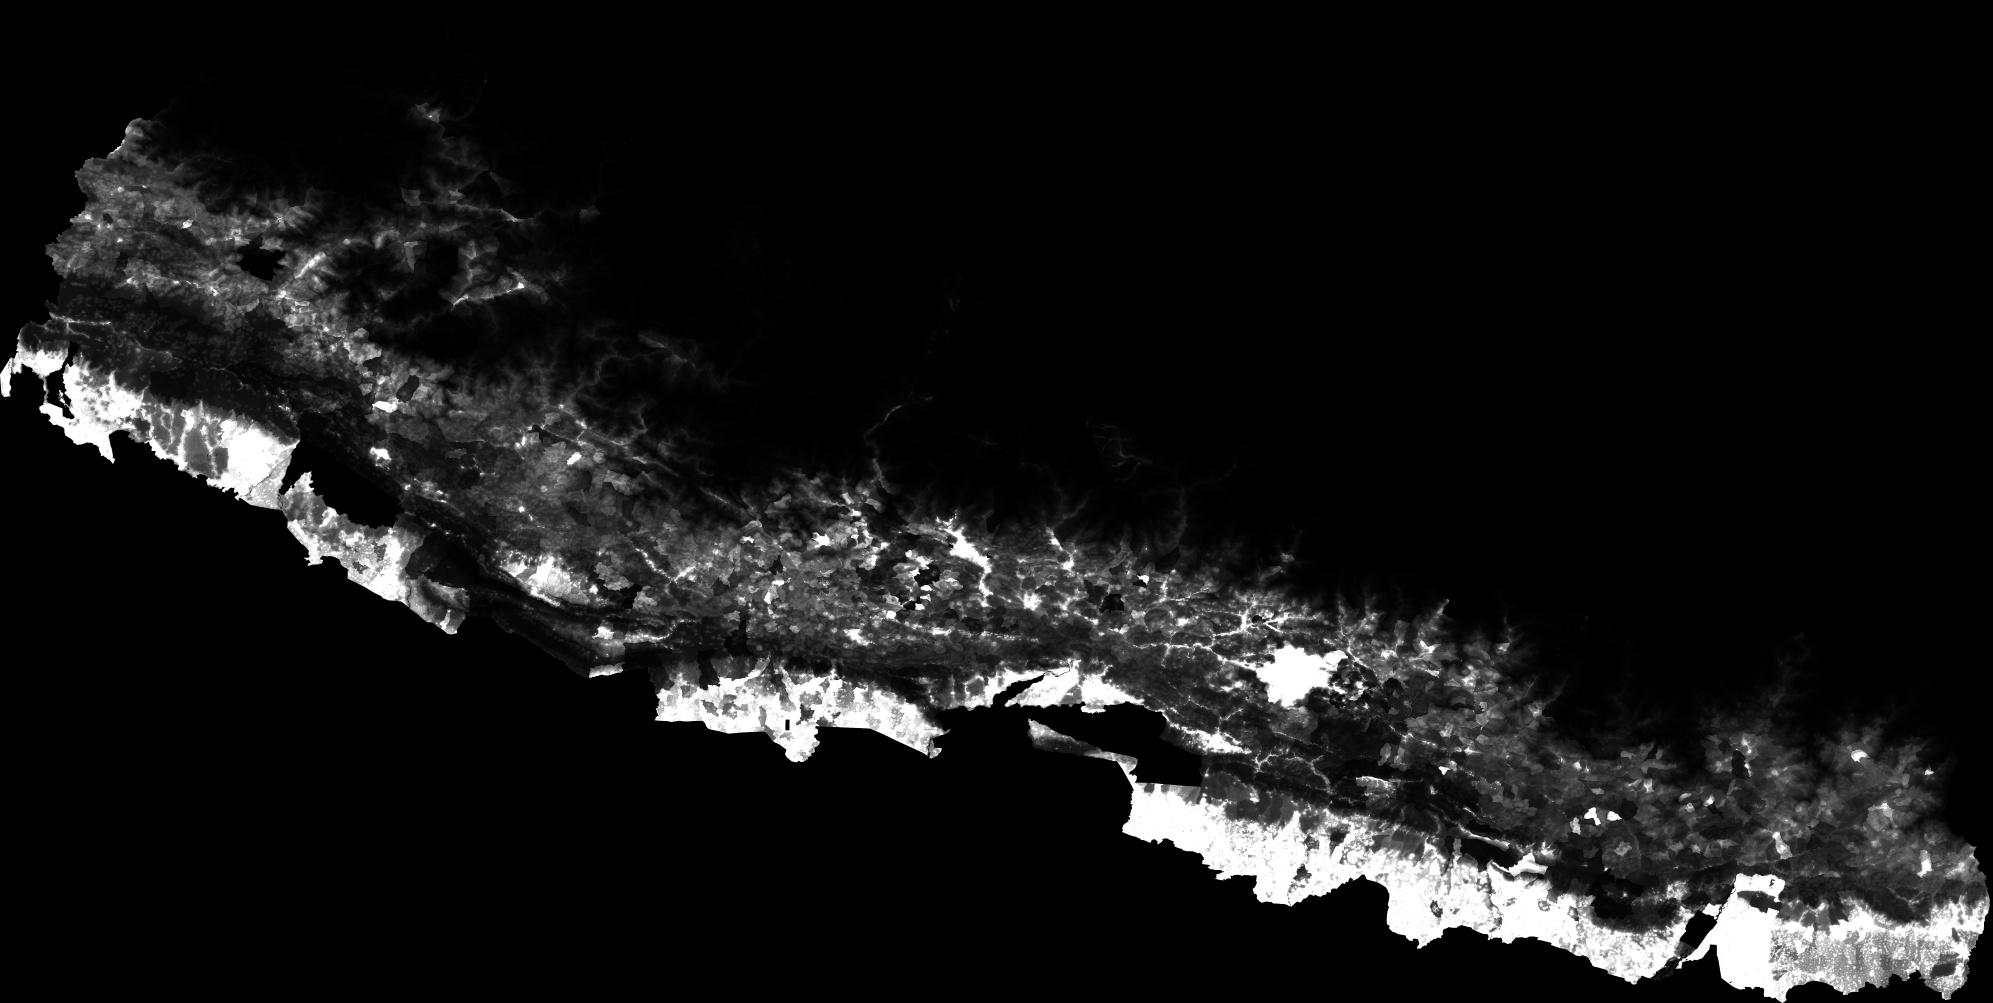
Thanks @andreasplesch! This is all super-helpful. Your changes to render out a single-band image work beautifully:
… Though it took a loooong time to load  and the rendered output was massive (original size), so I have some work ahead of me to figure out how to optimize this.
Thanks for helping me on this journey!!
Added web workers to speed things up.
WHAT! <3 <3 <3 Thank you!